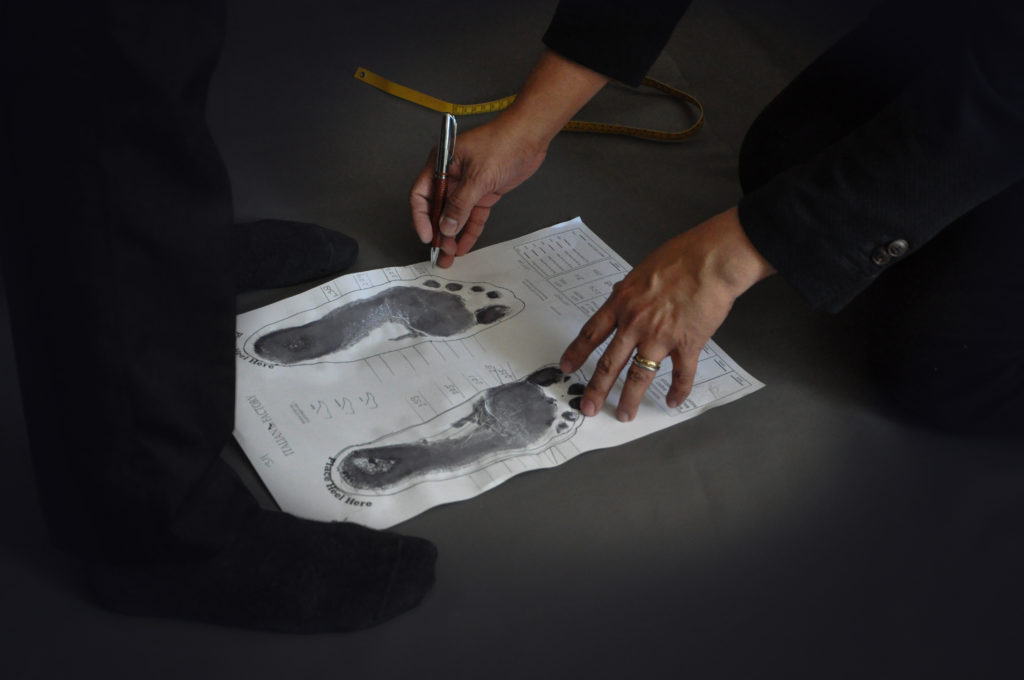
Step 1: Measurements & Selection of Style
The beauty of a bespoke shoe is that it fits like a glove – or at least it should do! Handmade shoes are so unique to wear because they are in tune with the foot’s anatomy. Thanks to the high quality leather used, they will mold to fit the foot’s pressure points and respect its differences in muscle density. To begin the journey, our Master Last-Maker measures the client’s foot, while the client selects the shoe shape, materials and design. After the measurement process is complete, a series of pictures and scans of the foot are taken to refer back to the intricate details which will be used to create the shoe lasts.
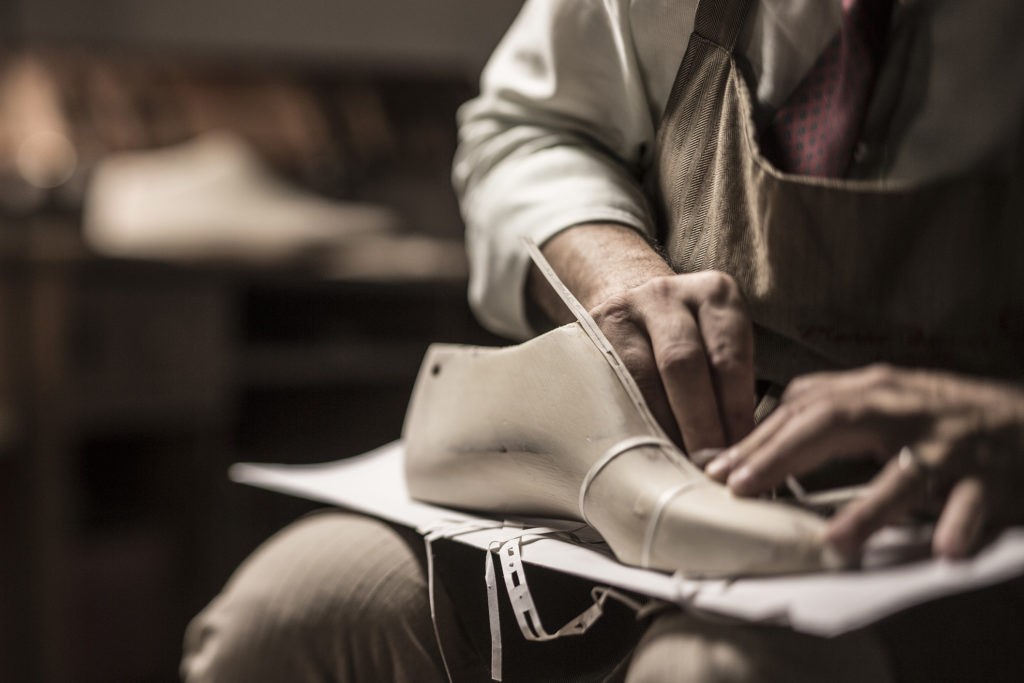
Step 2: Shoe Last Making
Before the shoe manufacturing process starts, the last comes first. A Shoe last is the physical base on how your shoes are made. A last is a mould that emulates a foot to give the shoe its shape. These are carved from wood or plastic and every left and right shoe needs one to determine its shape and size. But a last is no vague foot-shaped lump of wood and there are things to take into account when creating one. That includes how a foot rolls when one walks and how this will affect factors such as heel height. Later in the shoemaking process the last is placed inside the shoe so it can be modelled around it. It’s used again once the shoe is almost finished to make sure the end fit matches the original design.
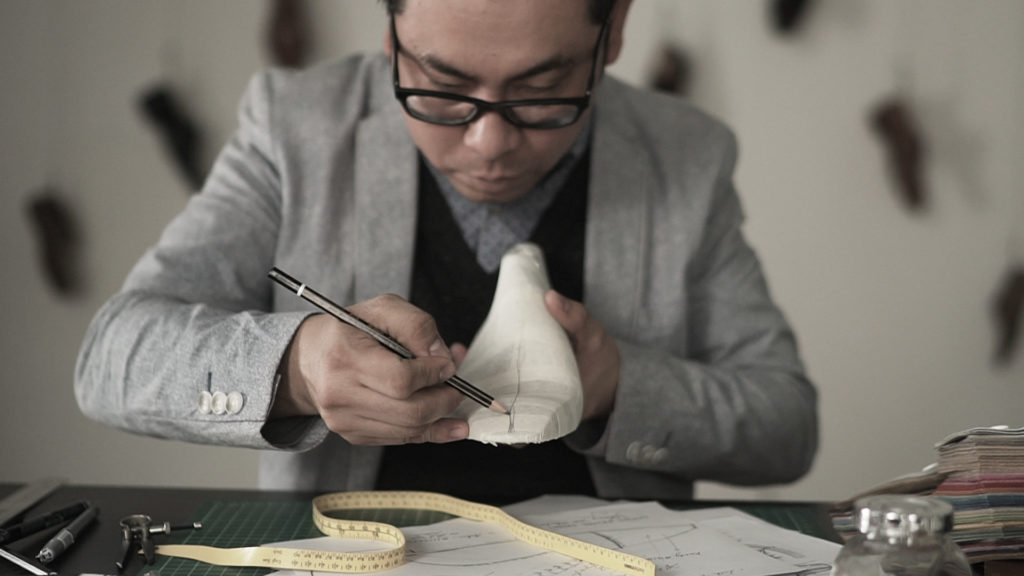
Step 3: Pattern Cutting & Clicking
Our Shoe Designer or Cutter takes over at this stage, having been given the measurements and the finished shoe last. The Cutter’s first job is to make a paper pattern for the style of shoe chosen by the client. The pattern consists of various, some might say, strangely named pieces: vamp, cap, tongue, and quarters. Using these pieces as a guide, the Cutter then cuts the leather which will be used to create the shoe’s upper.
Like the Last-Maker, the Cutter is a highly skilled individual with the talent to design footwear on paper and turn it into the beginning of a bespoke shoe. One of the Cutter’s finest skills is his ability to choose the perfect leather by assessing its weight and pliability. Of course, its quality never comes into question! If you’re looking to start your own shoe line, then these are the guys that know how to create a shoe that looks good & performs well. Learn more about how to start a shoe line.

Step 4: Assembling the Shoe
Next up in the shoe manufacturing process, the Cutter gives the last, patterns, and cut leather to the Closer. The closer is responsible to stitch the loose pieces of leather together to form the finished uppers. It’s at this point that the Closer will include linings and any trimmings that the style of shoe demands.
These could be anything from broguing and binding to elastics and lace holes. Having assembled the pieces, like a stylish jigsaw, the Closer pulls the upper over the last to ensure it’s the right shape. The finished upper is then tacked into place.
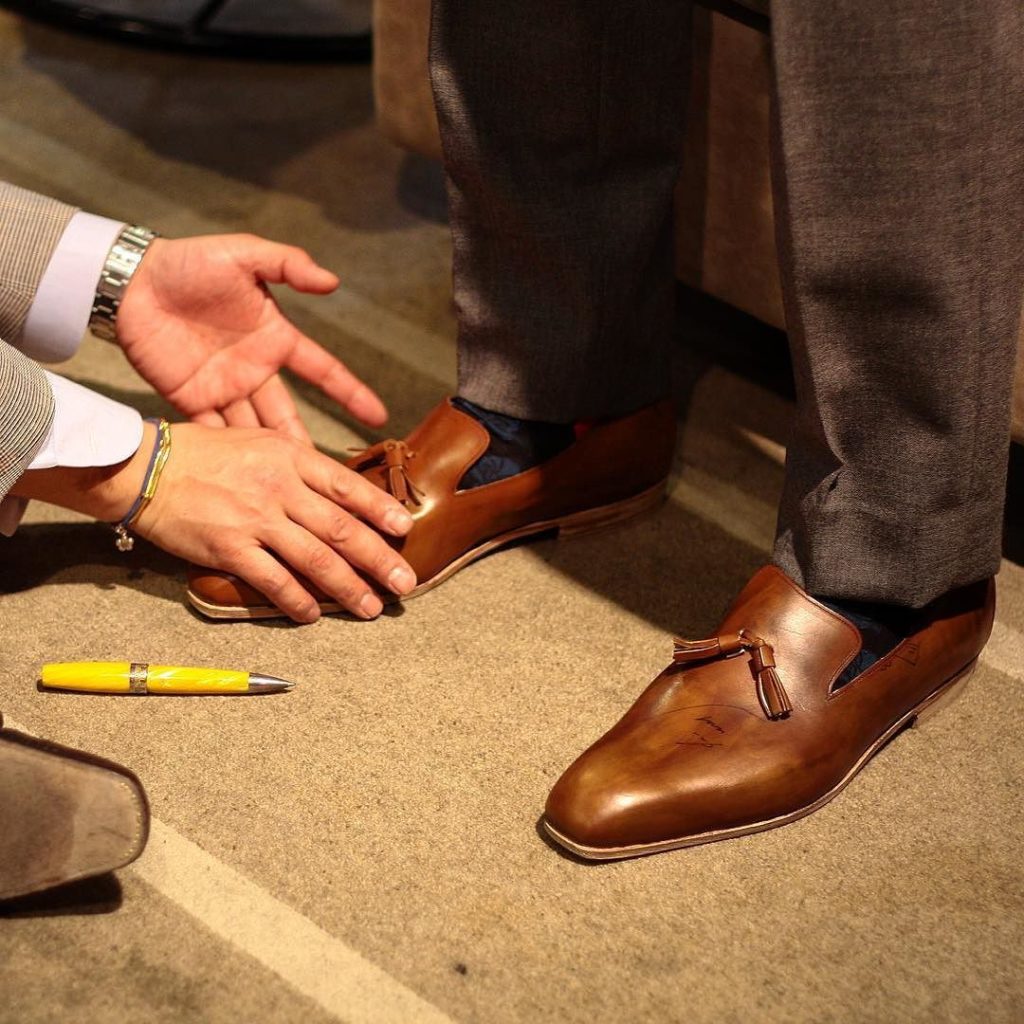
Step 5: The Trial Shoe
Our shoe is really starting to come together. But before going into production, the client is invited to a fitting to see how the shoes look and fit. They’ll have the opportunity to make any revisions such as the height of the heel and the shape at the toe.
Attention to detail is everything in handmade shoes so while the client is wearing the shoe, the Master Last-Maker takes final measurements. He will also make incisions to check the shoe for even the slightest pressure on the foot. Comfort is key and this process enables the artisan to make any adjustments, however tiny, to the client’s last.
Step 6: Final Craftsmanship
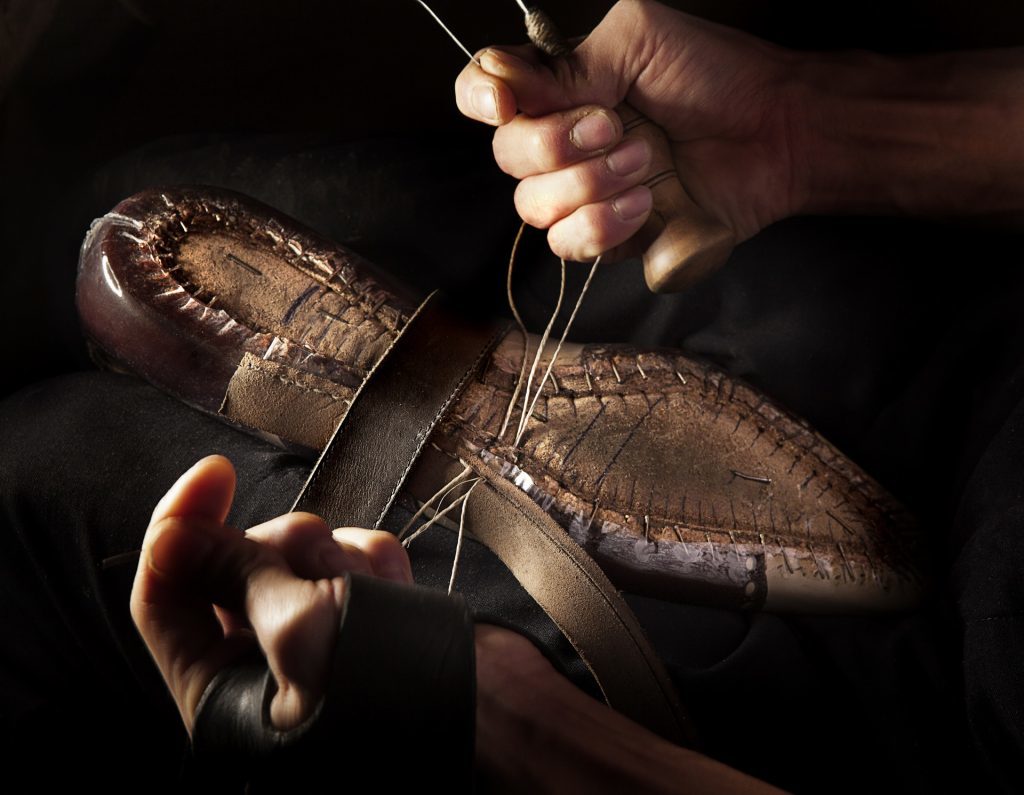
Now the custom shoes are ready to go through to the master craftsman’s hands. The maker will add in the toe and heel stiffeners and shape the insole to the bottom of the last. Depending on the type of shoe construction selected by the client, the maker will perform the steps necessary to attach the sole to the upper. Goodyear, Blake & Adhesive are a few types of constructions in shoemaking. The Goodyear welt being the most intricate shoemaking process dating back to 1872. Using three nails, the first step is to temporarily attach the insole below the shoe last. Then a rubber ridge is fixed to the insole and the shaft is laced and fitted over the last. It’s then attached to the insole using hot glue and nails.
Once the shoe upper is in perfect shape, it’s time to stitch an approximately 3mm wide piece of leather – a welt – to the insole and the lining. The welt is then precisely stitched into place by hand. The beauty of the Goodyear method is that if the shoe wears out over time, the entire sole can be changed, adding more life to your much loved bespoke shoes.
Step 7: The Shoe Room
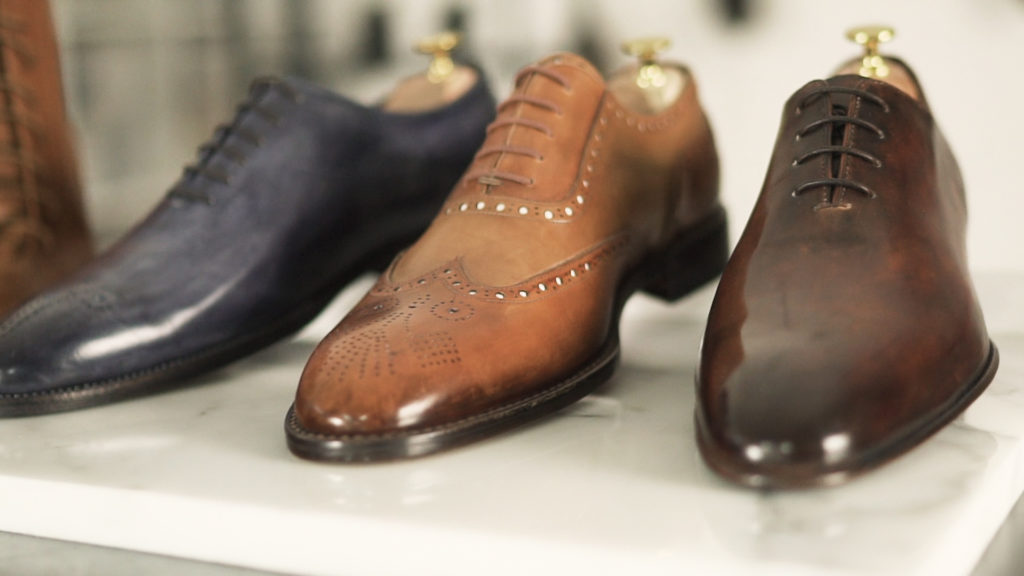
Last stop: the shoe room. Here, the Last-Maker gives the completed shoe to the Finisher who carefully removes the last from the shoe. He will rub out any small imperfections inside the shoe and fit the seatsocks. With his tools of the trade – brushes, cloths, and polish mixed with water – the Finisher transforms the shoe into a beautiful end product. Although his role may seem small, it’s extremely vital for a luxurious end product.
Each and every shoe then undergoes one last, final quality check before it is packaged and shipped to the client.
